.
This tutorial is adapted from http://developer.android.com/training/basics/firstapp/running-app.html
The tutorial was done with Android Studio 1.4
1) Run Android Studio and find the Android Virtual Device (AVD) Manager button.
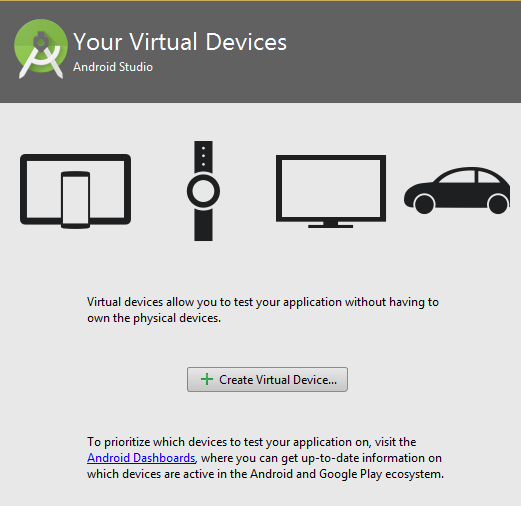
2) First-time user.
If you are using this for the first time, you will see the below screen.
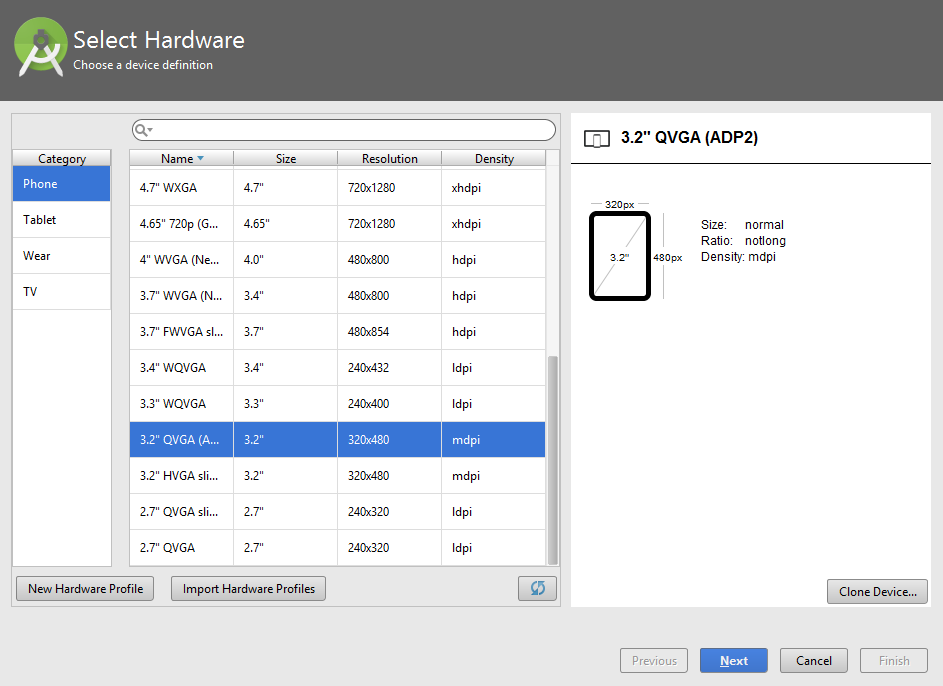
3) Select suitable Virtual Device.
e.g Nexus S with 4.0” hdpi screen.

or 3.2” QVGA
4) Select System Image

5) Give a name that may help you identify its settings.
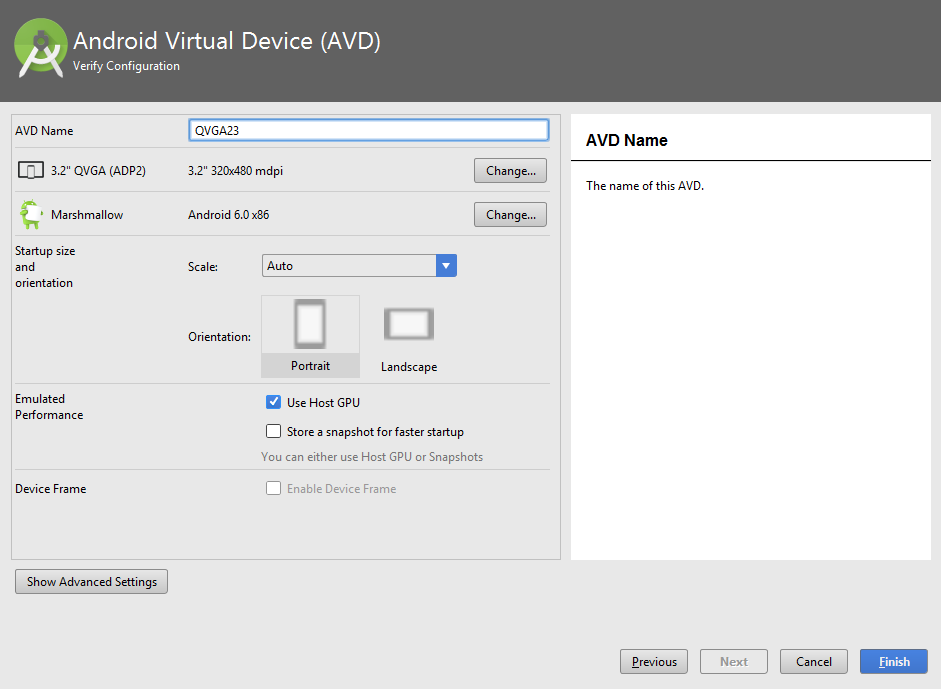
Done.

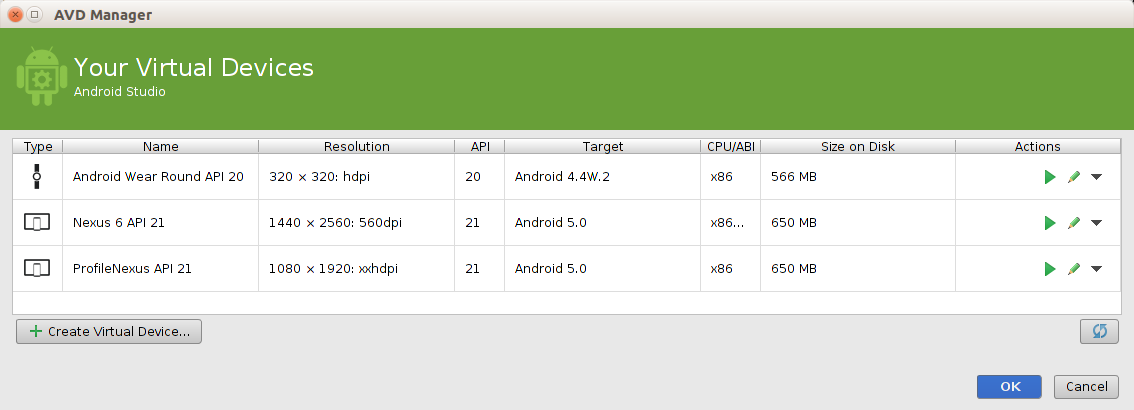
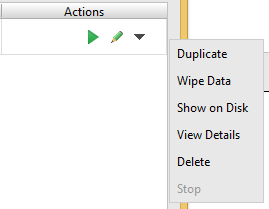
6) Further changes.
Further changes to the settings can be done using context menu as shown below.
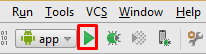
7) Run.
Click the Play Button (gren color).

Running Android Virtual Device is resource intensive.
Pick a device that is suitable to run on your PC.
By default, the machine runs and listens at port 5554.
You can create more than one device and each of them will get a different port number running sequentially from 5554.
|
8) Switch back to Android Studio.
Open your project.
Look for the Play Button.
If Android Studio finds that your project source code is correct, the Play Button will become active.
Click the Play Button.
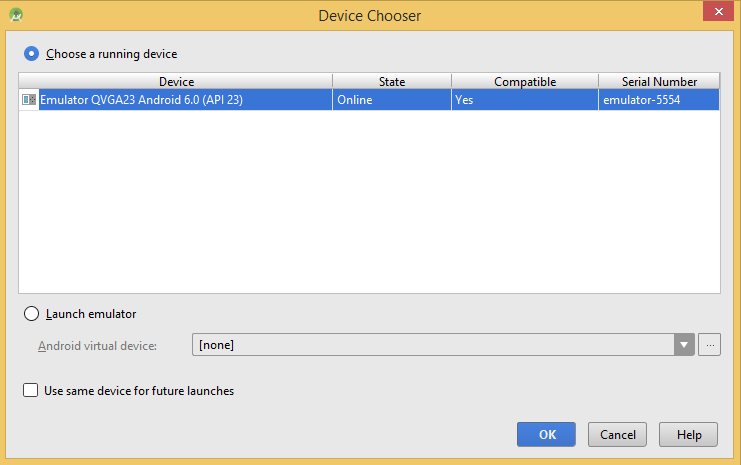
7) Select the device into which you want to launch the app.
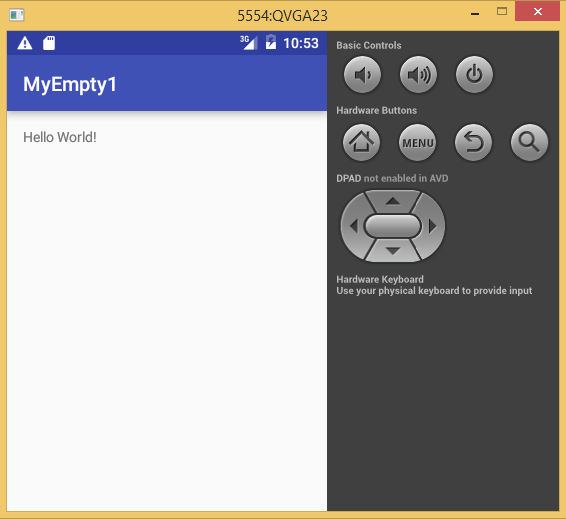
8) Apps is now running.
The below screenshot shows projects running in the Virtual Device QVGA23.

No comments:
Post a Comment