This tutorial is based on http://developer.android.com/training/basics/activity-lifecycle/index.html . The steps in this tutorial is moderated from: http://katsoft.net
1) Run Eclipse.
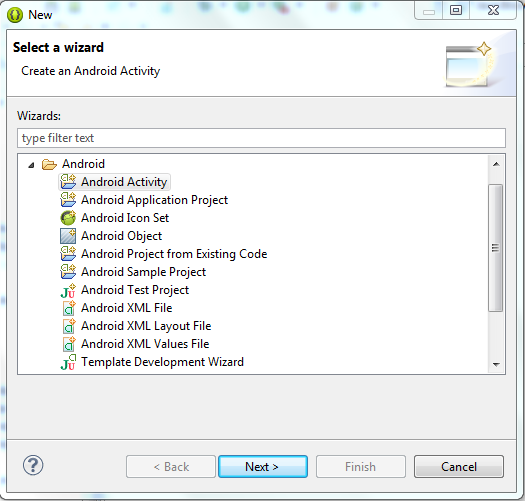
2) Create a new Android Application. Name it as "LifeCycleTest". Click Next.

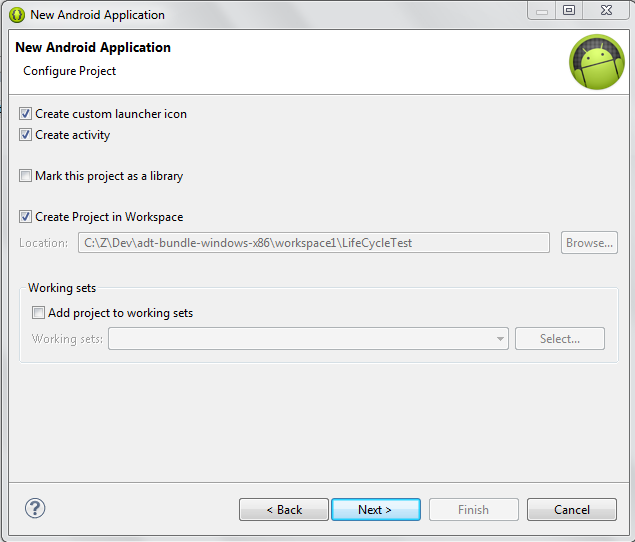
3) Accept Default Project Configuration. Click Next.
4) Accept Launcher Configuration.

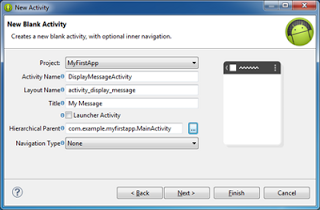
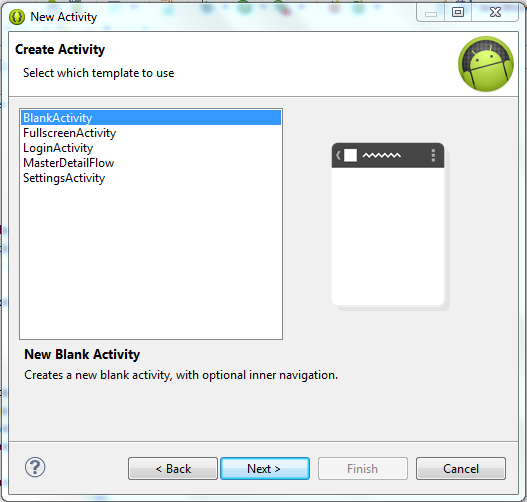
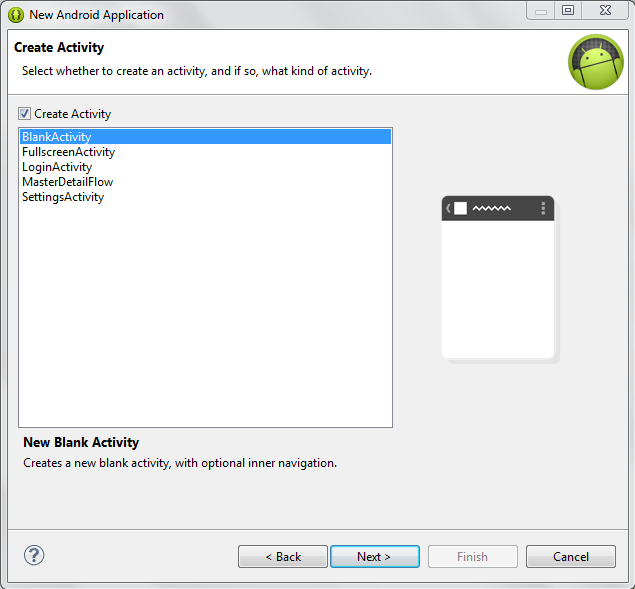
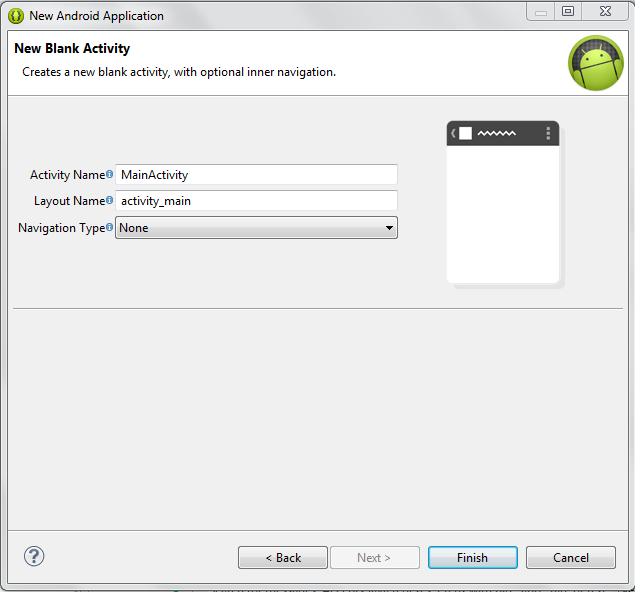
5) Accept Default BlankActivity. Click Next.
6) Accept Default Activity and Layout Name. Click Finish.
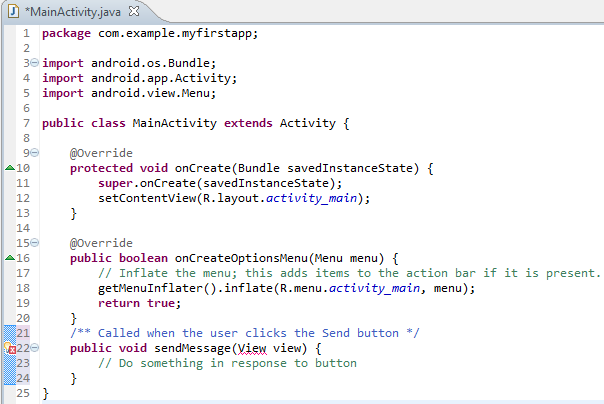
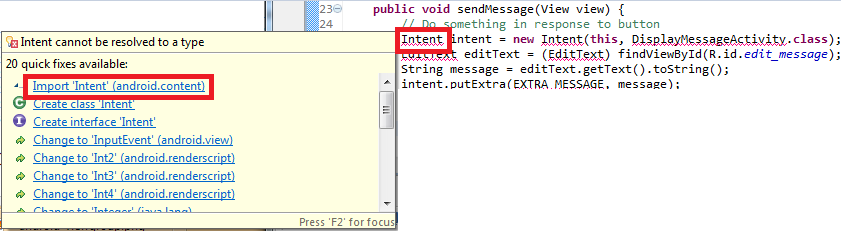
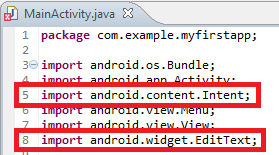
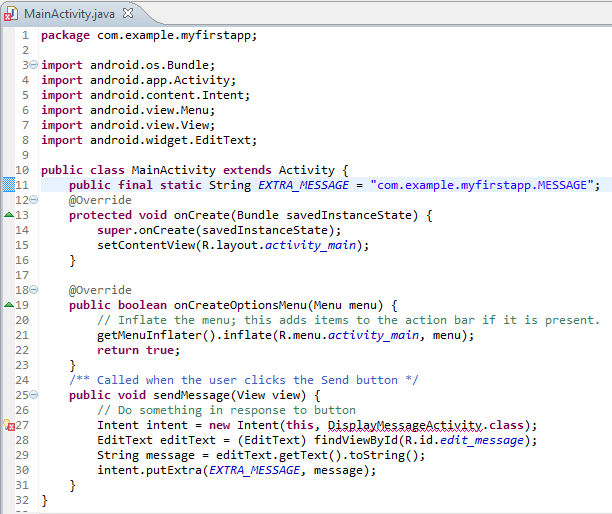
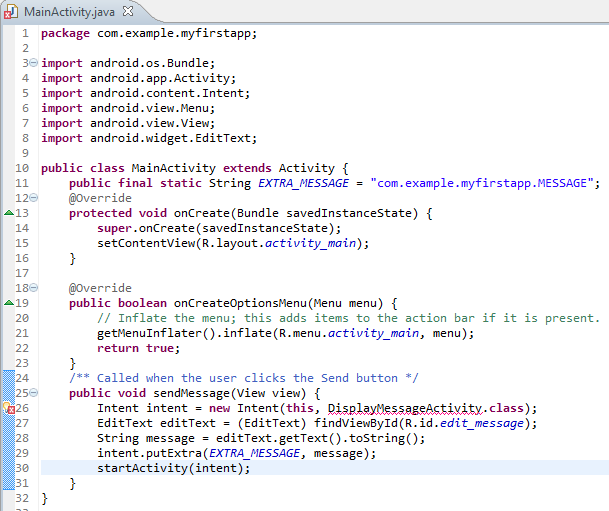
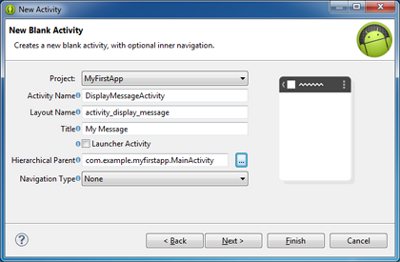
7) Edit {project root}/src/com.example.lifecycletest/MainActivity.java
package com.example.lifecycletest;
import android.os.Bundle;
import android.app.Activity;
import android.content.Context;
import android.widget.Toast;
public class MainActivity extends Activity {
@Override
public void onCreate(Bundle savedInstanceState) {
super.onCreate(savedInstanceState);
setContentView(R.layout.activity_main);
tToast("onCreate");
}
public void onStart() {
super.onStart();
tToast("onStart");
}
public void onRestart() {
super.onRestart();
tToast("onRestart");
}
public void onResume() {
super.onResume();
tToast("onResume");
}
public void onPause() {
super.onPause();
tToast("onPause: bye bye!");
}
public void onStop() {
super.onStop();
tToast("onStop.");
}
public void onDestroy() {
super.onStop();
tToast("onDestroy.");
}
private void tToast(String s) {
Context context = getApplicationContext();
int duration = Toast.LENGTH_SHORT;
Toast toast = Toast.makeText(context, s, duration);
toast.show();
}
}
8) Edit {project root}/res/layout/activity_main.xml
<!--?xml version="1.0" encoding="utf-8"?-->
<LinearLayout xmlns:android="http://schemas.android.com/apk/res/android"
android:layout_width="fill_parent"
android:layout_height="fill_parent"
android:orientation="vertical" >
<TextView
android:layout_width="fill_parent"
android:layout_height="wrap_content"
android:text="@string/hello" />
</LinearLayout>
9) Edit {project root}/res/values/strings.xml .
<?xml version="1.0" encoding="utf-8"?>
<resources>
<string name="app_name">LifeCycleTest</string>
<string name="hello">Hello world!</string>
<string name="menu_settings">Settings</string>
</resources>?
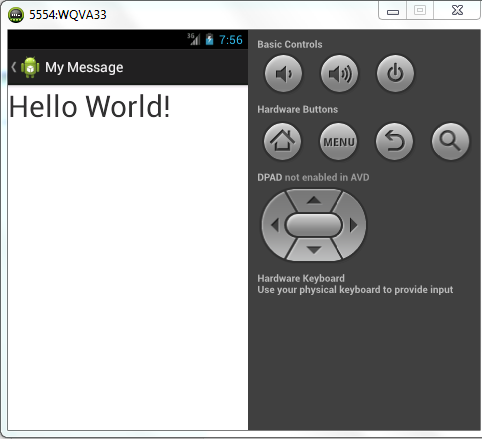
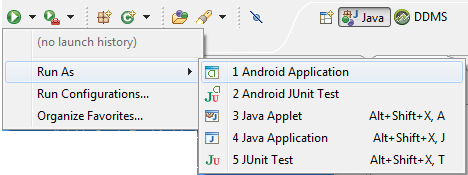
10) Launch app.
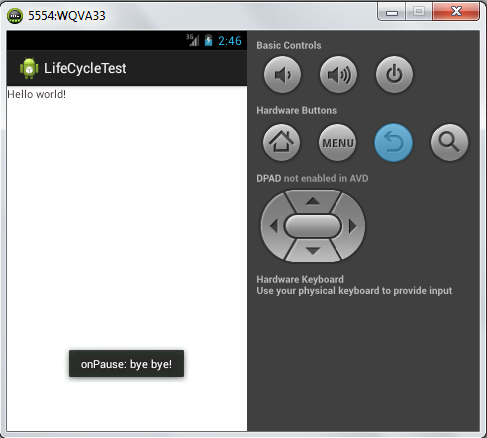
11) Observe the output.
11.1) Notice the activity status message when the application is activated; "OnCreate", "OnStart", "OnResume)

11.2) Tap the Back button. Notice the Activity Status message; "OnPause","OnStop","OnDestroy".
11.3) Tap Home button. Browse app and tap "LifeCycleTest" to start the application again.
11.4) When the application is activated, tap Home button and observe the Activity Status message.

11.4) When the application is activated, tap Home button and observe the Activity Status message.