An Android project contains all the files that comprise the source code for your Android app. The Android SDK tools make it easy to start a new Android project with a set of default project directories and files.
This lesson shows how to create a new project either using Android Developer Toolkit(ADT) API Version 18.
1) Click Menu File/New/Android Application Project

2) New Android Application options
Fill up the form based on the guide at http://developer.android.com/training/basics/firstapp/creating-project.html and then click Next.
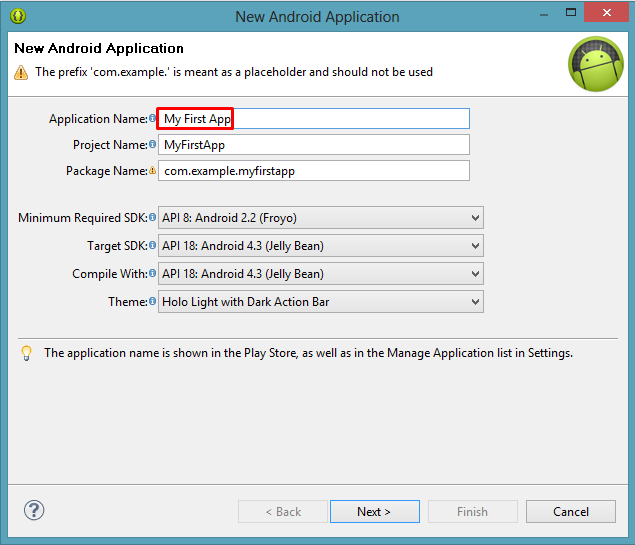
The explanation as stated on the above website:
|
3) Project Configuration.
Accept Default.
Click Next.

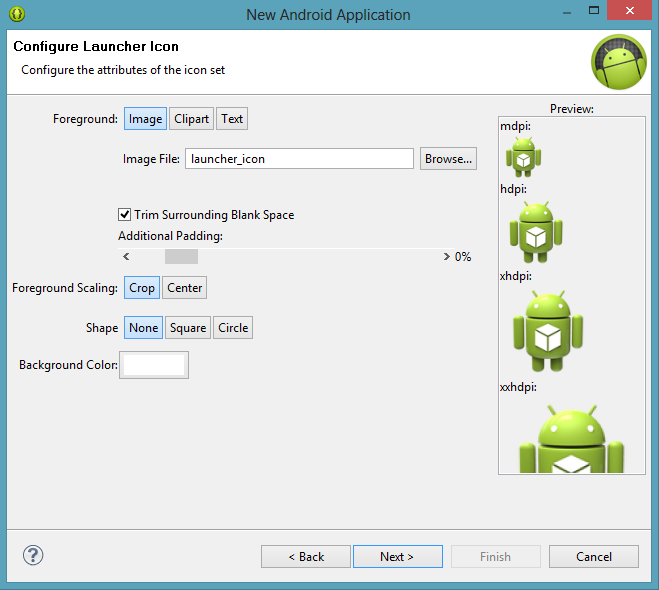
4) Configure Launcher Options.
Accept Default.
Click Next.
5) Create Activity Option.
Accept Default (Tick Create Activity)
Click Next.
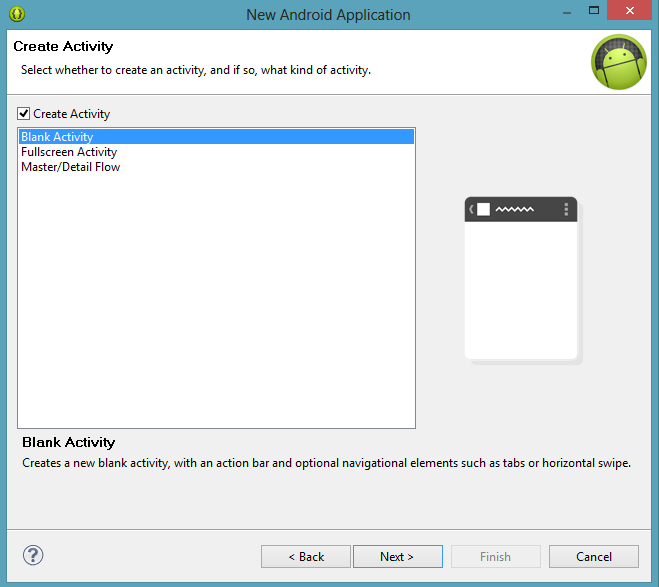
When we choose Create Activity, ADT will perform two tasks:
1) Create a Java Class for the Activity
2) Update Android Manifest file.
AndroidManifest.xml is a powerful file in the Android platform that allows you to describe the functionality and requirements of your application to Android.
|
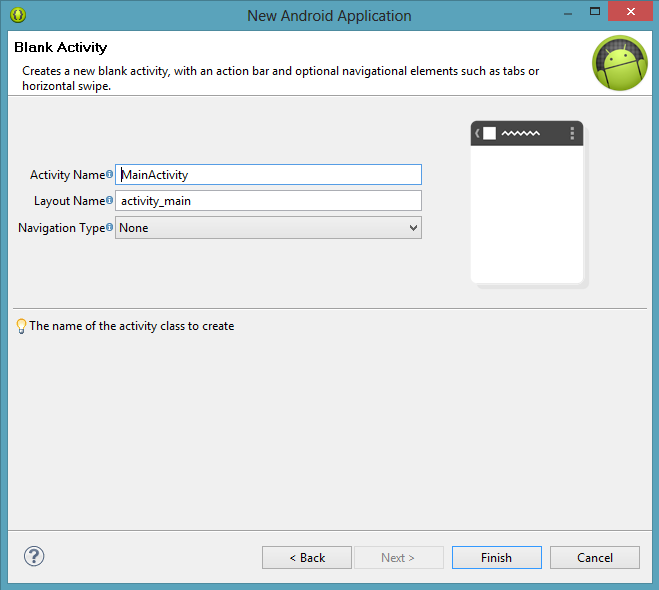
6) New Blank Activity options.
Accept Default.
Click Finish.
7) Observe Package Explorer Panel.
Check each of the files.
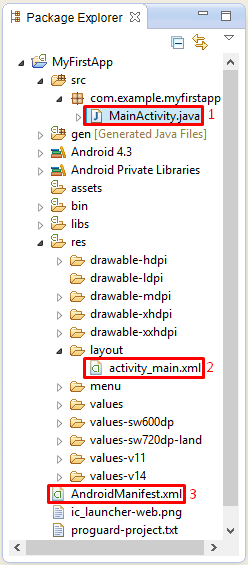
7.1) MainActivity.Java
A typical Java file consists of three segment of codes:
a) The package declaration (to identify the project codes)
b) The import declaration (to use the existing code libraries)
c) The class instructions (programmer instructions)
package com.example.myfirstapp;
import android.os.Bundle;
import android.app.Activity;
import android.view.Menu;
public class MainActivity extends Activity {
@Override
protected void onCreate(Bundle savedInstanceState) {
super.onCreate(savedInstanceState);
setContentView(R.layout.activity_main);
}
@Override
public boolean onCreateOptionsMenu(Menu menu) {
// Inflate the menu; this adds items to the action bar if it is present.
getMenuInflater().inflate(R.menu.main, menu);
return true;
}
}
|
Notice the statement setContentView(R.layout.activity_main);
It tells the apps to set its view based on the layout specified in the file activity_main (which is kept in the sub folder layout of the Resource folder).
7.2) activity_main.xml
(You may need to click the tab “activity_main.xml” in order to see the source codes)
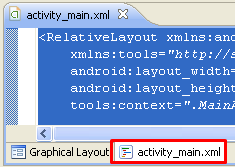
<RelativeLayout xmlns:android="http://schemas.android.com/apk/res/android"
xmlns:tools="http://schemas.android.com/tools"
android:layout_width="match_parent"
android:layout_height="match_parent"
android:paddingBottom="@dimen/activity_vertical_margin"
android:paddingLeft="@dimen/activity_horizontal_margin"
android:paddingRight="@dimen/activity_horizontal_margin"
android:paddingTop="@dimen/activity_vertical_margin"
tools:context=".MainActivity" >
<TextView
android:layout_width="wrap_content"
android:layout_height="wrap_content"
android:text="@string/hello_world" />
</RelativeLayout>
|
7.3) AndroidManifest.xml
(You may need to click the tab “AndroidManifest.xml” in order to see the source codes)
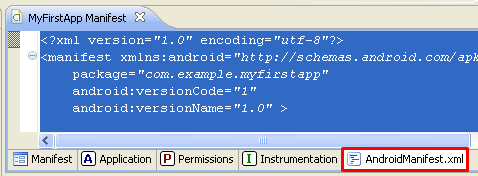
<?xml version="1.0" encoding="utf-8"?>
<manifest xmlns:android="http://schemas.android.com/apk/res/android"
package="com.example.myfirstapp"
android:versionCode="1"
android:versionName="1.0" >
<uses-sdk
android:minSdkVersion="8"
android:targetSdkVersion="18" />
<application
android:allowBackup="true"
android:icon="@drawable/ic_launcher"
android:label="@string/app_name"
android:theme="@style/AppTheme" >
<activity
android:name="com.example.myfirstapp.MainActivity"
android:label="@string/app_name" >
<intent-filter>
<action android:name="android.intent.action.MAIN" />
<category android:name="android.intent.category.LAUNCHER" />
</intent-filter>
</activity>
</application>
</manifest>
|
Notice that the AndroidManifest.xml actually contains the information that has been mostly entered in the project setup wizard above (Step 2 to Step 6).

No comments:
Post a Comment