
---
Eclipse ADT 18 on Windows 7
|
1) Main Reference
2) Download and extract the ADT zip file.
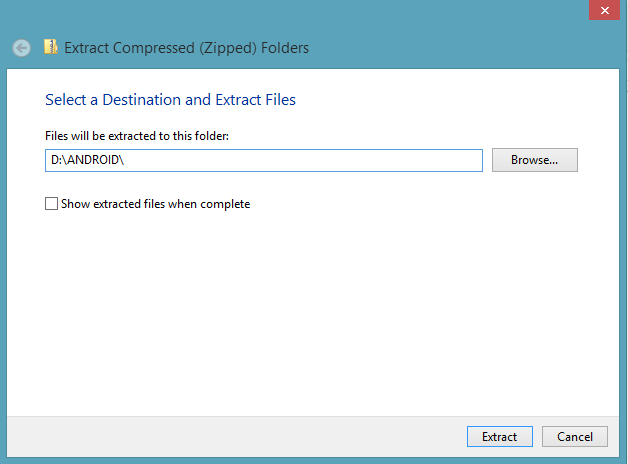
2.1) Right-click the file, select Extract All…

2.2) Set the target path, e.g D:\ANDROID\
(Be careful not to extract to My Documents or Desktop because long file names may cause a problem to the extraction process)
2.3) Outcome.
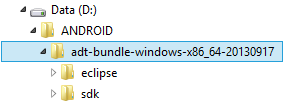
2.4) Create a workspace folder.

3) Running ADT (Eclipse)
3.1) Locate the eclipse program.
eclipse program should be found within the folder eclipse of the ADT bundle folder.

3.2) (Optional) Create a shortcut to Start Menu.


(When the icon appears in the Taskbar, you can easily click it to run eclipse program)
3.4) Run eclipse.

3.5) Eclipse will ask you to enter the workspace path
e.g D:\ANDROID\adt-bundle-windows-x86_64-20130917\workspace
Tick the checkbox for “Use this as the default and do not ask again”.

3.6) Finally eclipse displays the Welcome Screen.
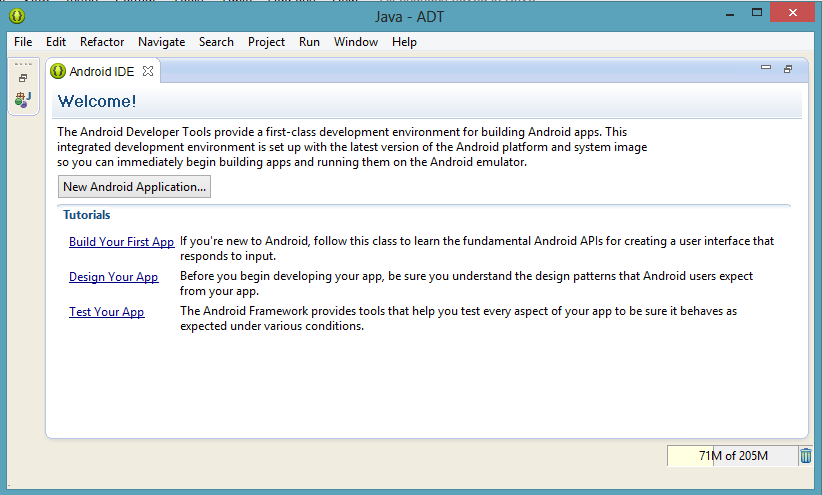
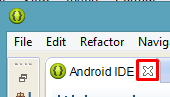
3.7) Close the Welcome Screen.
3.8) You should see the eclipse application window.

4) Checking the About Window, SDK Manager and AVD Manager
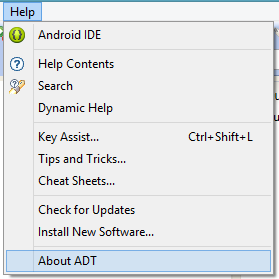
4.1) About Window
About Window tells us the version of this ADT application.

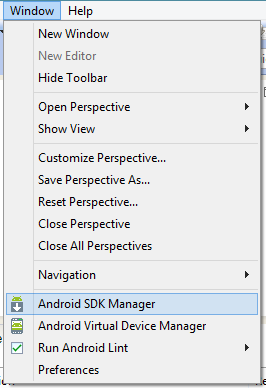
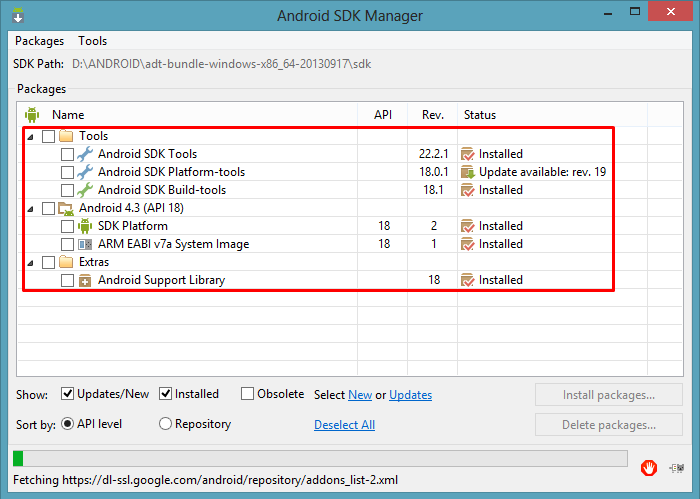
4.2) SDK Manager
SDK Manager helps us to download and install the SDK Tools, API Version and System Image for this ADT Application.
4.3) AVD Manager
AVD Manager helps us to setup Android Emulator in order to test Apps created by this ADT application.


No comments:
Post a Comment