
-----
Basic4Android Version 3
Contents
Basic4Android Version 3 Tutorial (Download, Setup and Get Started)
1) Download Basic4Android Version 3
1.1) Go to URL http://www.basic4ppc.com
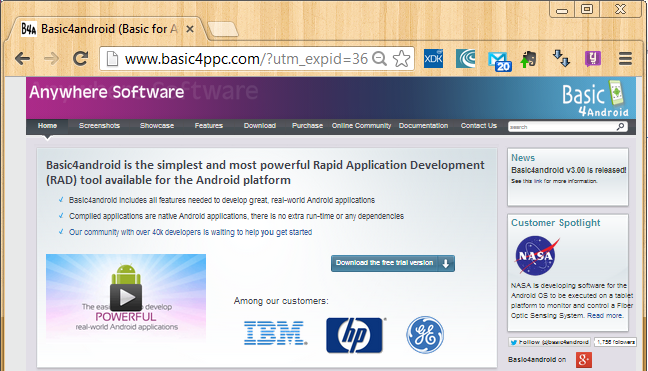
1.2) Notice that the News section announces the release of Basic4Android v3.0.0
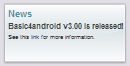
1.3) For further info on v3.0.0, you may read http://www.m2mevolution.com/news/2013/10/15/7478239.htm
The website noted that:
The highlight of this new version (v3.00) is a new Rapid Debugger tool that supports enhanced productivity features, such as hot code swapping, that are not available in any other native Android development platform.
The Rapid Debugger tool was designed to increase developers' productivity by drastically shortening the "write code, then test result" cycle. Using standard debuggers, it often takes 20-30 seconds (and sometimes even longer) to compile and run an app on a mobile device. With this new tool, developers can activate rapid debugging mode and see the results of their code changes in less than two seconds. Over the course of a development project, this can save hours in wasted development time.
Another key feature enabled by the Rapid Debugger is hot code swapping. This allows developers to modify the code while the app is running and view the results "on the fly", without the need to close the app, compile the code and re-run the app. Hot code swapping helps to streamline the coding process and saves significant time and development costs.
1.4) Click the button “Download the free trial version”.

1.5) You will be forwarded to http://www.basic4ppc.com/android/downloads.html
Take note that the web page says:
“Basic4android can run in two modes: local compilation and remote compilation”.

1.6) The next section of the pages shows you how to install in both ways.

2) Install Basic4Android Version 3
2.1) As alternative to the above steps, you can also try the steps below:
2.1.1) Download and install ADT (refer http://setup-steps.blogspot.com/2013/03/android-developer-tools-adt-bundle.html)
2.1.1) Download Basic4android v.3.0.0 from http://www.basic4ppc.com/android/files/b4a-trial.exe
2.2) Save the file b4a-trial.exe
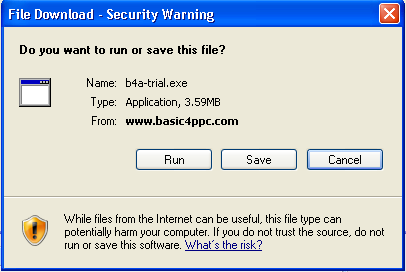
You can just save it to My Documents.

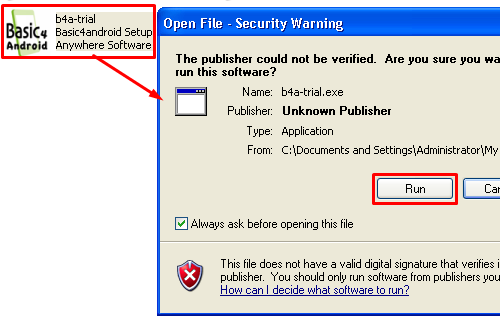
2.3) Run the installer.
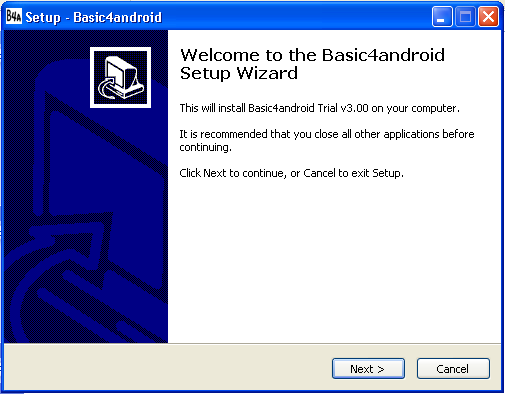
2.4) Starting the Setup Wizard.
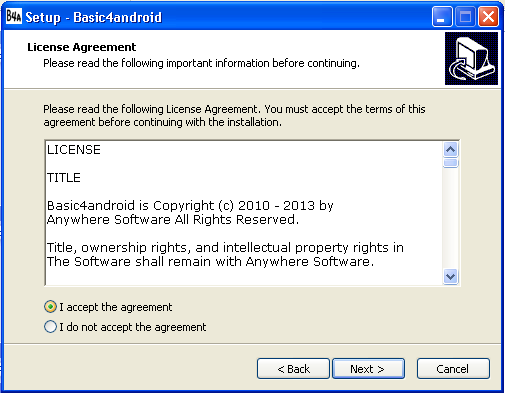
2.5) Accept the agreement.
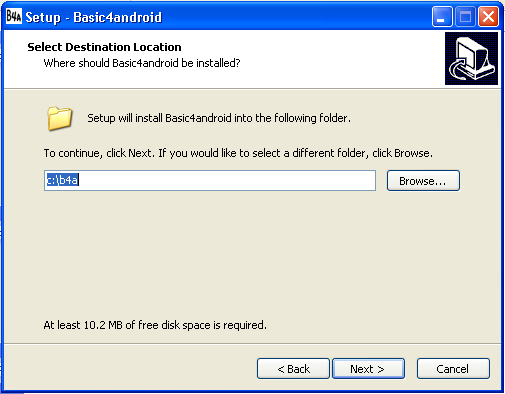
2.6) Select destination location, e.g. c:\b4a.
2.7) Option for additional tasks.
Click Next.

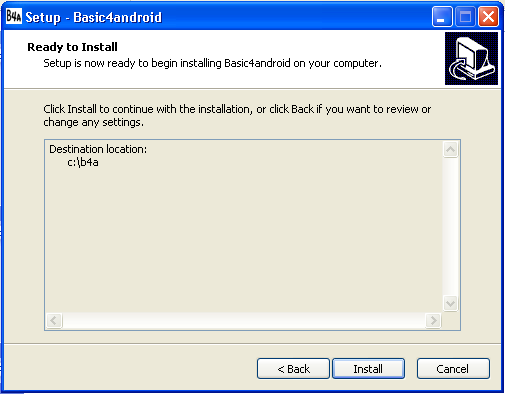
2.8) Ready to Install.
2.9) Complete the Setup Wizard

The initial promo screen appears.

Proceed to the next section.
3) Getting Started with Basic4Android Version 3
(This step assumes that you have followed the entire Step 2 above)
(Make sure that your Android Emulator is running before commencing this steps below)
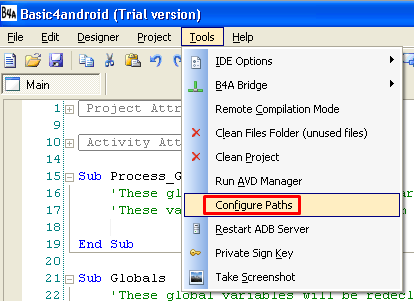
3.1) You need to first configure the paths.
Go to menu Tools/Configure Paths.
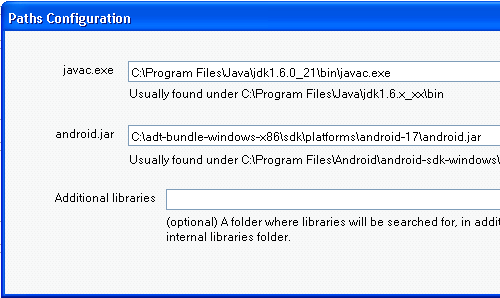
3.2) Browse for the paths for the required programs and click OK.
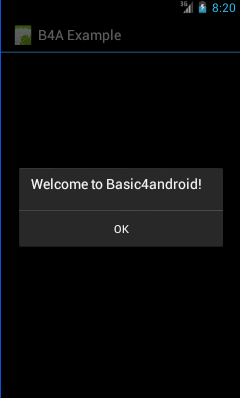
3.3) The Main Window contains a default sample codes which are ready to be tested on emulator or real device.
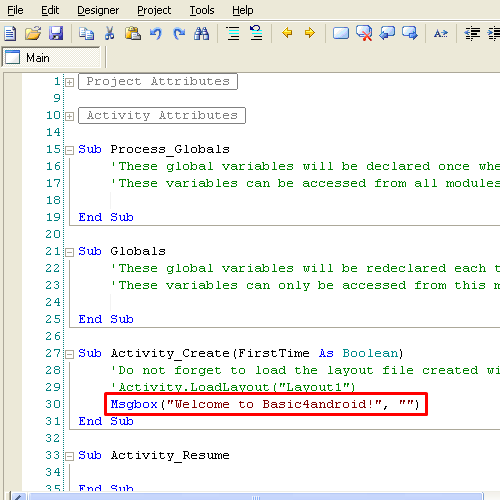
3.4) Find the Run button located in the tool bar.
Click Run.

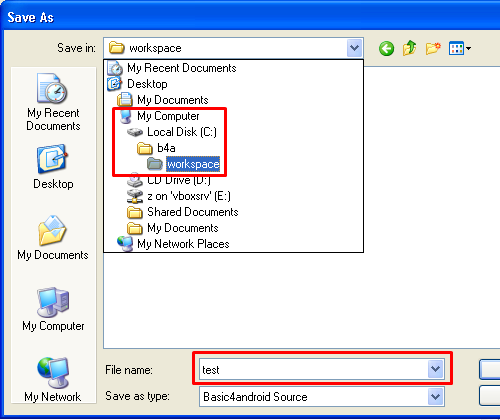
3.5) You will be required to save your file.
The following example shows the file name “test” that is saved in the location c:\b4a\workspace.
Wait for the process…
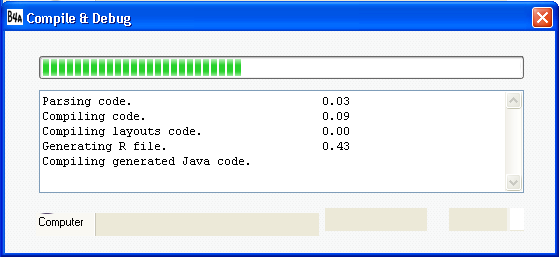
…

…

---
NOTE:
Basic4Android has a help page for index search
Visit the site and search what you need
Basic4Android has a Wiki Page for libraries, http://www.basic4ppc.com/android/wiki/index.php/Libraries
Visit the site and try them out!.
-----
No comments:
Post a Comment