Friday, February 14, 2014

Android-Eclipse: Building a Simple User Interface

---
Android - Building a Simple User Interface

This tutorial is a continuation of 
http://basic-steps.blogspot.com/2013/02/android-understanding-my-first-app.html.  

The steps in this tutorial is based on 
http://developer.android.com/training/basics/firstapp/building-ui.html#Button. It guides the reader to learn about Simple User Interface.

1) Run Eclipse and open MyFirstApp project.

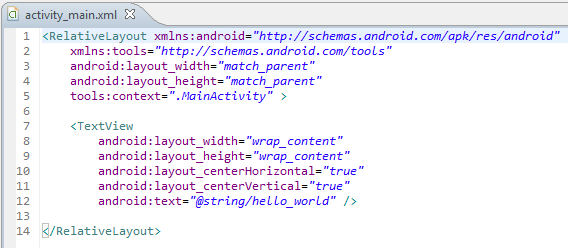
2) Open {project root}/res/layout/activity_main.xml

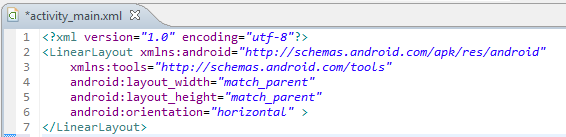
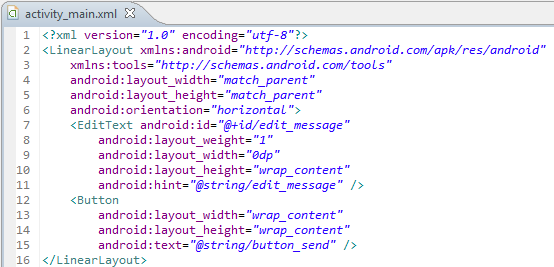
3) First, delete the <TextView> element and change the <RelativeLayout> element to <LinearLayout>. Then add the android:orientation attribute and set it to "horizontal". The result looks like this:


4) To create a user-editable text field, add an <EditText> element inside the <LinearLayout>.


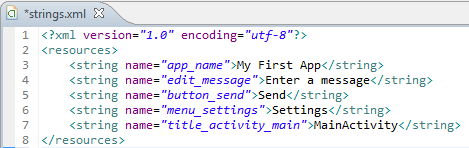
5) Add String Resources.
5.1) Open {project root}/res/values/strings.xml and edit as follows:


6) Add a Button.
6.1) Get back to {project root}/res/layout/activity_main.xml and  add a <Button> to the layout, immediately following the <EditText> element:


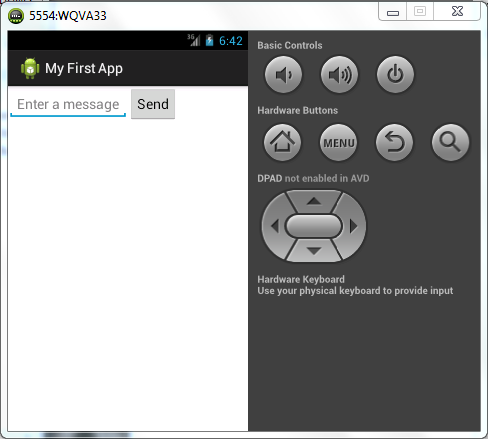
7) Run app.
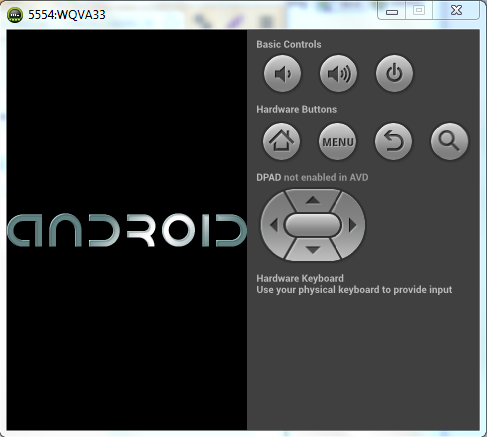
7.1) Make sure that your Android Emulator is running and detected by Eclipse.
7.2) In project explorer panel, Right-click {project root}, choose Run As/Android Application.


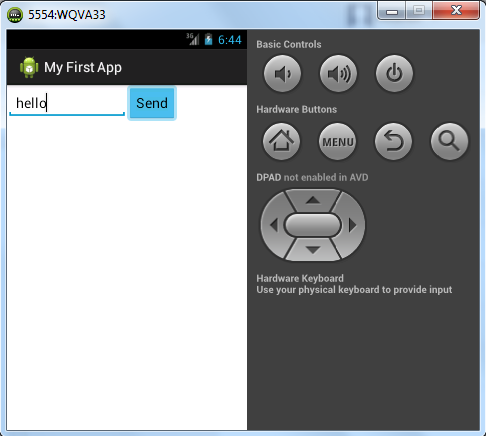
7.3) Type Hello and click Send.


8) Re-edit the layout and run
8.1) Re-edit layout.xml as follows:


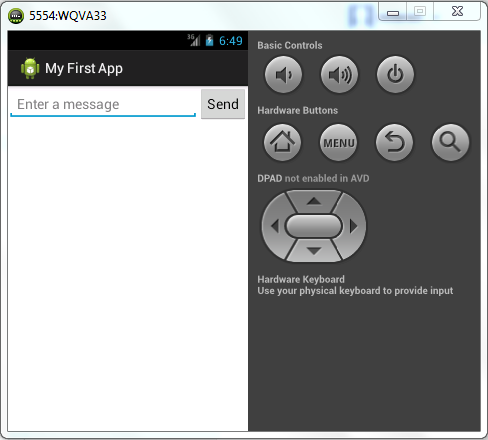
8.2) Run and observe the output.


Android-Eclipse: Understanding My First App

---
Android - Understanding My First App

The next thing to do after the first Android Application (app) successfully ran is to understand the codes and structures behind itself.

This tutorial is a continuation of 
http://basic-steps.blogspot.com/2013/02/android-building-your-first-app.html which was based on  http://developer.android.com/training/basics/firstapp/creating-project.html.
1) Run Eclipse. Open MyFirstApp project.

2) In Eclipse, look at the project explorer panel. Examine MyFirstApp folder structure.


3) As for a start, we are going to look at MainActivity.java, AndroidManifest.xml and project.properties.
4) MainActivity.java
4.1) Double-click the item MyFirstApp/src/com.example.myfirstapp/MainActivity.java


4.2) By default, the editor doesn't show line numbers.
4.2.1) You can turn on this feature via menu 
Window/Preferences.
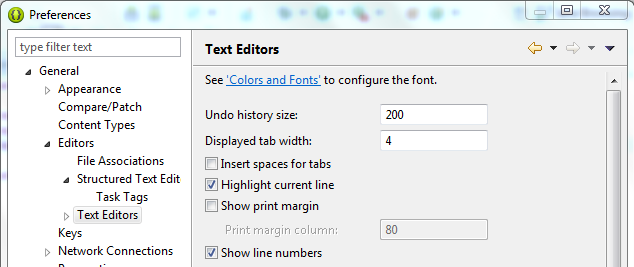
4.2.2) The Preferences window pops up. Click general/Editors/Text Editors. Tick Show line numbers. Click Apply. Click OK.
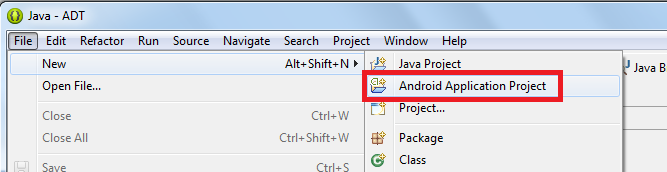

4.2.3.) As a result you get a better view of the codes.


4.3) There are three segments of codes; Package segmentImport segment and Class Declaration segment.


4.3) Package segment (line no.2) identifies your app as a unique app and is especially important when the app is published in the Internet.

4.4) The import segment (line no. 3 - 5) declares the standard Android classes that are required by your app.
4.4.1) 
android.os.Bundle - is used to send arbitrary data from one activity to another.
4.4.2) 
android.app.Activity - is used to create activity (one of the several components that can make up an Android Application). What distinguishes an Activity from all other components is that it is the only component that can (and must) have a user interface.
4.4.3) android.view.Menu -Interface for managing the items in a menu.
5) The file MainActivity.java contains the declaration of the class MainActivity at line no.7public class MainActivity extends Activity {...}

5.1) Class MainActivity extends the class Activity. This means that MainActivity will inherit all the properties and methods of the class Activity.

5.2) Class MainActivity may define instructions for the methods that it has inherited, which is called 
overrides. (Line no 9 and line no 15). For the methods onCreate and onCreateOptionsMenu, MainActivity has its own instructions to be executed.
 @Override
 protected void onCreate(Bundle savedInstanceState) {...
...

 @Override
 public boolean onCreateOptionsMenu(Menu menu) {...


6) The super keyword is not specific to Android. It's a concept belonging to OOP, and represents the parent class of the class in which you use it. In Android, it's mostly usefull when you create your own Activity or component, and lets you call a default behaviorbefore implementing yours.

super.onCreate(savedInstanceState);

7) setContentView and getMenuInflater

7.1)  The setContentView method sets the view layout for the activity.
setContentView(R.layout.activity_main);

The resource is located at {project root}/res/layout/activity_main.xml

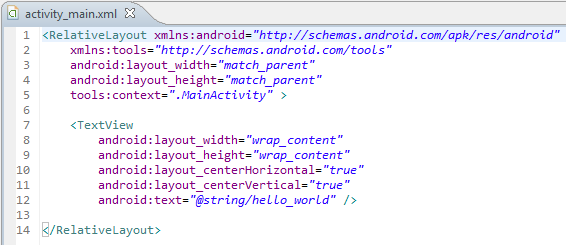
7.1.1) Notice that Line no.10 and 11 will cause the text to be placed at the center of the screen.


7.2) The getMenuInflater() method sets the menu item of the app.getMenuInflater().inflate(R.menu.activity_main, menu);

The resource is located at {project root}/res/menu/activity_main.xml

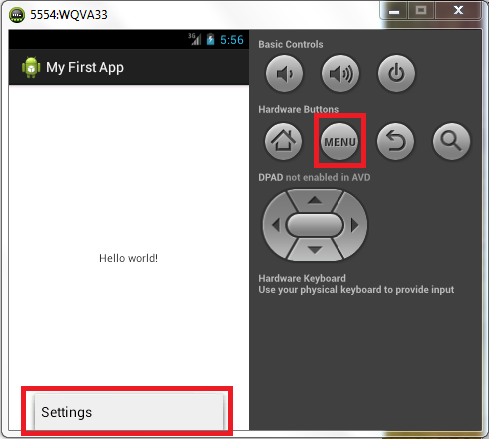
7.2.1) Whenever the user tap on Menu button, the menu item will be displayed on the screen.


7.3) Both of the files contain the keyword @string. These keywords are pointing to the string resources located at {project root}/res/values/string.xml


8) The app configuration details is stored in {project root}/AndroidManifest.xml


8.1) Line no. 7 defines the minimum SDK and target SDK version. This corresponds to the settings made during the New Android Application dialog window


8.2) Line no. 11 defines the general application settings. This includes the application name and icons to be used.

8.3) Line no. 16 registers the Activity within this application. This corresponds to the {project root}/src/com.example.myfirstapp/MainActivity.java

8.4) Line no. 20 defines the Intent for the Activity, i.e the abstract description of an operation to be performed towards the Activity. In this example, it calls for the Launcher to launch this app.

9) The app properties details is stored in {project root}/project.properties


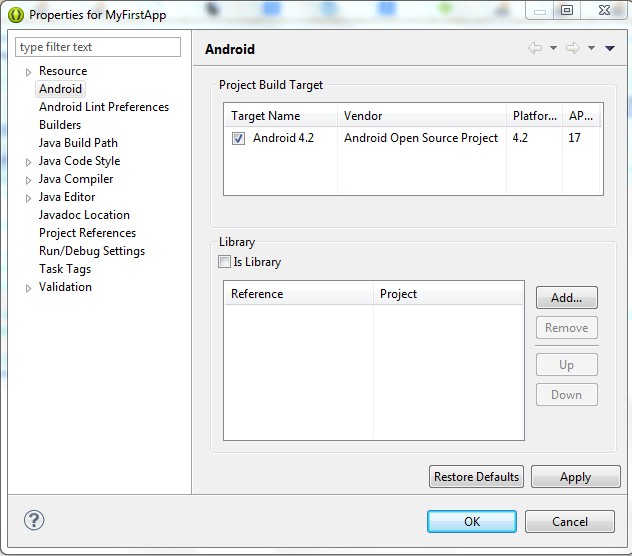
9.1) As the comment texts have stated, do not modify this file, you need to use menu Project/Properties in order to change the target. Bear in mind that you need to install the relevant SDK version before changing the target, otherwise Eclipse may produce code error message.

---

Android-Eclipse: Build Your First App

---
Android - Building Your First App


1) This tutorial is based on 
http://developer.android.com/training/basics/firstapp/creating-project.html.

2) The Integrated Development Software used for this tutorial (ADT) is downloadable from 
http://developer.android.com/sdk/index.html#download (32 bit edition).

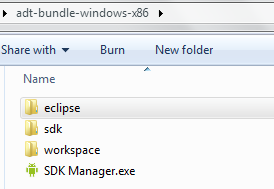
3) Download and extract the ADT software at the step (2). The top-level directory is as shown below:


4) Go into eclipse directory and locate Eclipse executable file.


5) Run eclipse.exe. An ADT Splash Screen pops up.


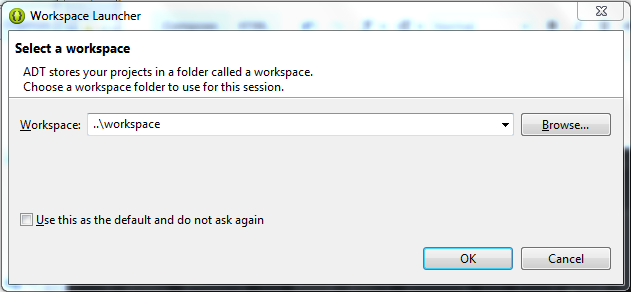
6) A Workspace Launcher dialog box appears. Set your Workspace directory, preferably "../workspace") which means it is located at top level of the ADT directory. Optionally, Tick "Use this ad the default and do not ask again".


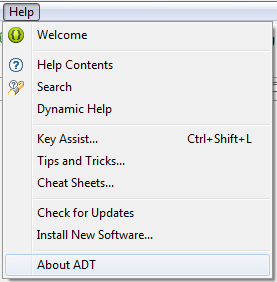
7) Click Menu/Help/About ADT.


8) The About ADT window pops up.
A number of installed components are shown as icons. The green icons are those related to Android Development kit.
Checking the installed components is necessary during the first time running of Eclipse to ensure that you have the required Android Development kit. Without these, you cannot use Eclipse to build Android apps.
Click OK.


CREATING AN ANDROID EMULATOR

9) Before you develop an Android app, you need to setup an Android Emulator so that you can test your app on it.
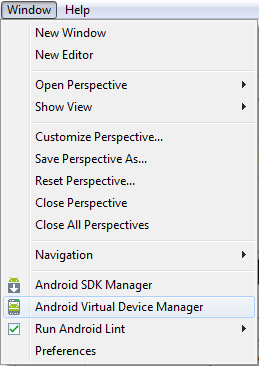
10) Click Menu Window/Android Virtual Device Manager.


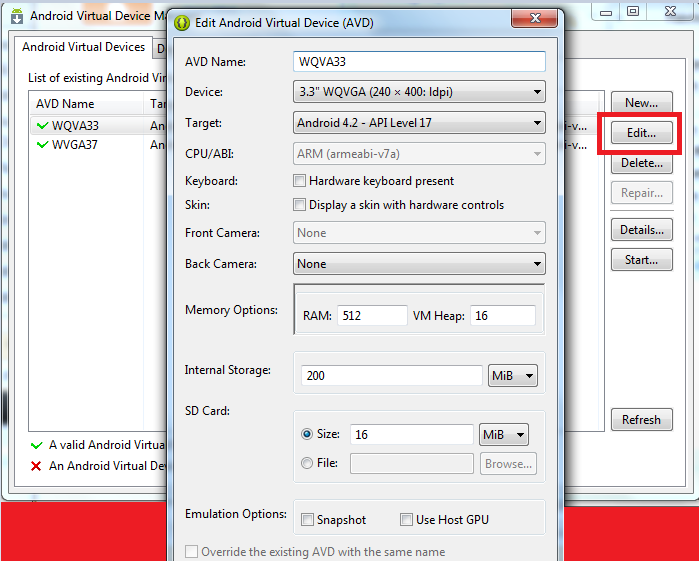
11) Set the machine configuration.
11.1) Click "Edit..."
11.2) Enter the required details. Click OK.
11.3) To test the machine, click Start…


12) Set Launch options.
12.1) Accept the default and click Launch.


12.2) The Starting progress windows pops up.


12.3) The Android emulator starts loading.


12.4) You have to wait for logon screen to appear. Use your mouse to tap on the padlock icon and drag it to the right to unlock the machine.


12.5) Look at the title of the window, 5554:WQVA33
5554 is the port number of the emulator that allows it to communicate with other software.
WQVA33 is the name given in Step (11).

13) You can leave this emulator window open while building the app.

CREATING NEW ANDROID PROJECT

14) Click Menu File/New/Android Application Project


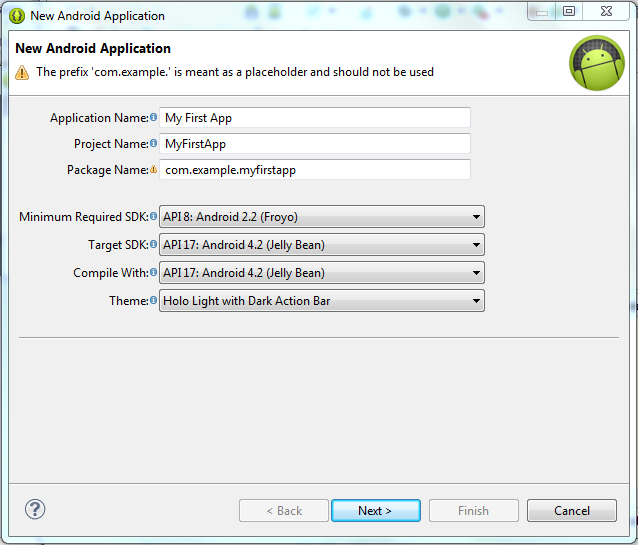
15.1) The explanation as stated on the above website:
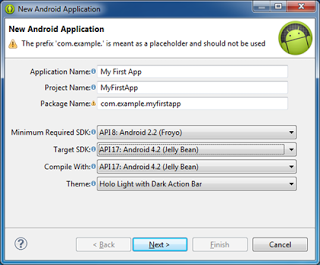
  • Application Name is the app name that appears to users. For this project, use "My First App."
  • Project Name is the name of your project directory and the name visible in Eclipse.
  • Package Name is the package namespace for your app (following the same rules as packages in the Java programming language). Your package name must be unique across all packages installed on the Android system. For this reason, it's generally best if you use a name that begins with the reverse domain name of your organizationor publisher entity. For this project, you can use something like "com.example.myfirstapp." However, you cannot publish your app on Google Play using the "com.example" namespace.
  • Minimum Required SDK is the lowest version of Android that your app supports, indicated using the API level. To support as many devices as possible, you should set this to the lowest version available that allows your app to provide its core feature set. If any feature of your app is possible only on newer versions of Android and it's not critical to the app's core feature set, you can enable the feature only when running on the versions that support it (as discussed in Supporting Different Platform Versions). Leave this set to the default value for this project.
  • Target SDK indicates the highest version of Android (also using the API level) with which you have tested with your application.
As new versions of Android become available, you should test your app on the new version and update this value to match the latest API level in order to take advantage of new platform features.
  • Compile With is the platform version against which you will compile your app. By default, this is set to the latest version of Android available in your SDK. (It should be Android 4.1 or greater; if you don't have such a version available, you must install one using the SDK Manager). You can still build your app to support older versions, but setting the build target to the latest version allows you to enable new features and optimize your app for a great user experience on the latest devices.
  • Theme specifies the Android UI style to apply for your app. You can leave this alone.
15.2) Click Next.
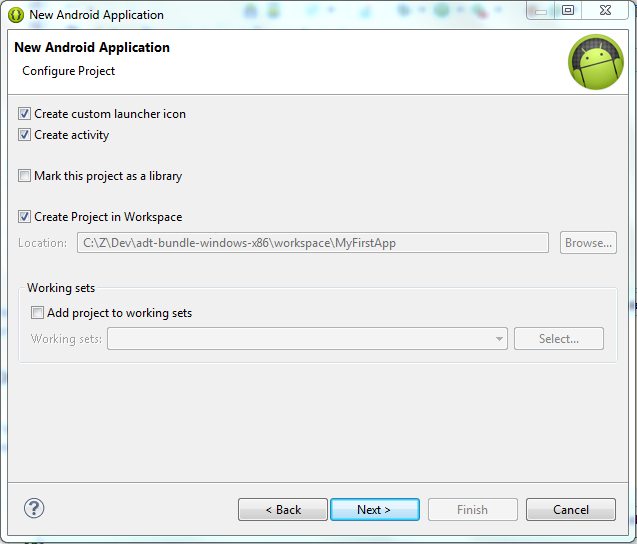
16) Configure New Android Application Project.
16.1) Click Menu Window/Android Virtual Device Manager.
16.2) Accept the default configuration and click Next.
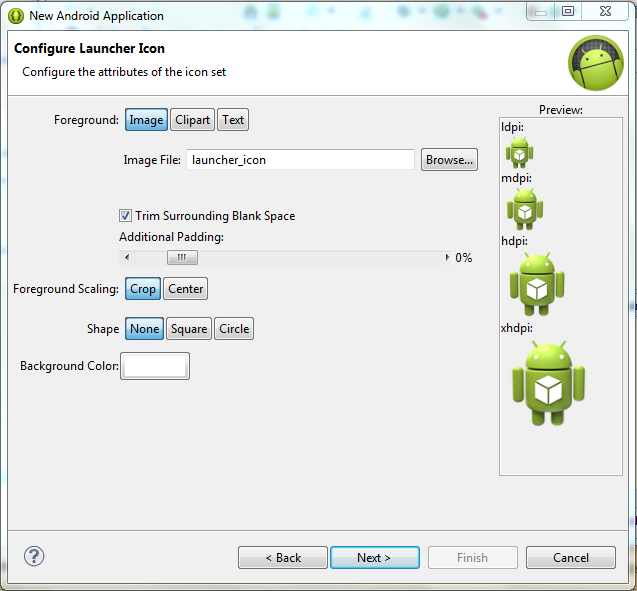
17) Configure Launcher Icons.
17.1) Accept the default and click Next.
18) Create Activity.
18.1) Accept the default (Create Activity/Blank Activity) and click Next.
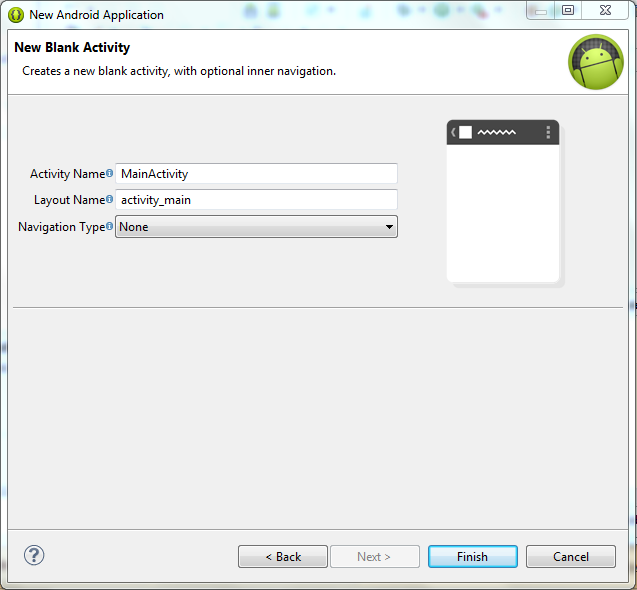
19) Set options for New Blank Activity
19.1) Accept the default and click Next.
20) Project Created
20.1) Look at the Package Explorer Panel. The file activity_main.xml is highlighted.
20.2) Look at the Design Panel. The draft of the application screen layout is shown.
20.3) Notice the text "Hello world!" at the center of the screen layout.
21) The project creation is done. 


RUNNING APP ON EMULATOR

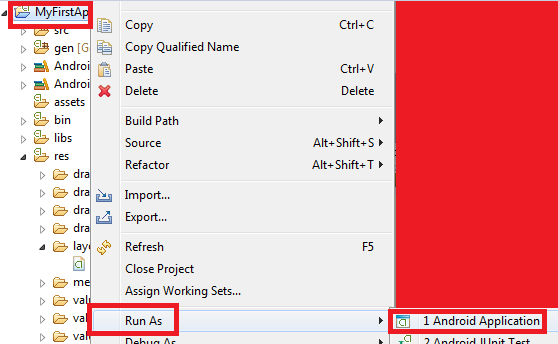
22) Right-click the Project Name. Select Run As/Android Application.
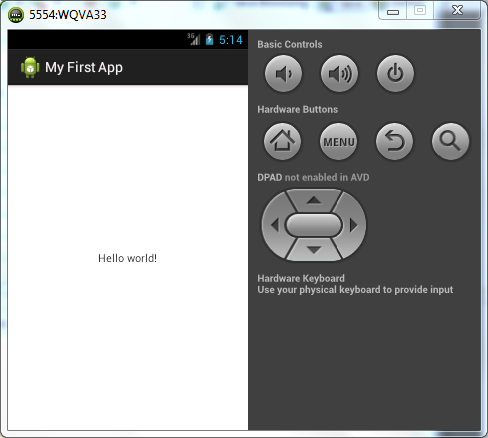
23) The app is launched to the emulator.
23.1) Notice that the look of the app screen is similar to the layout in Step (20)
23.2) Notice the name "My First App"


24) Click Return Button to exit from My First App.