Friday, November 7, 2014

103-Creating An Android Project


---
103-Creating An Android Project
An Android project contains all the files that comprise the source code for your Android app. The Android SDK tools make it easy to start a new Android project with a set of default project directories and files.
This lesson shows how to create a new project using Android Developer Toolkit(ADT).

1) Click Menu File/New/Android Application Project



2) New Android Application options

Fill up the form based on the guide at http://developer.android.com/training/basics/firstapp/creating-project.html and then click Next.
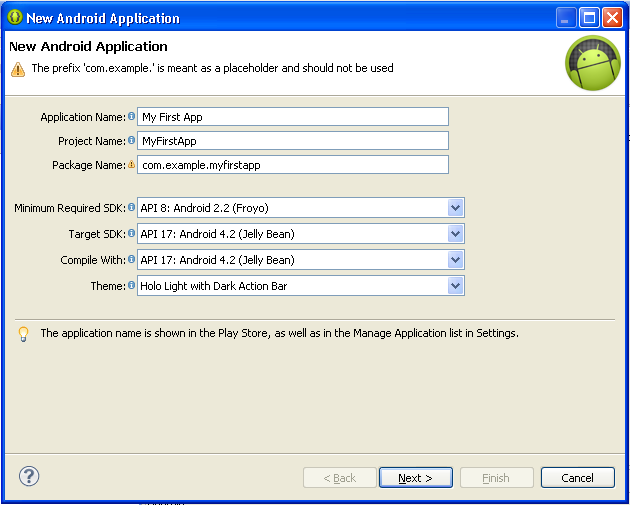
The explanation as stated on the above website:
  • Application Name is the app name that appears to users. For this project, use "My First App."
  • Project Name is the name of your project directory and the name visible in Eclipse.
  • Package Name is the package namespace for your app (following the same rules as packages in the Java programming language). Your package name must be unique across all packages installed on the Android system. For this reason, it's generally best if you use a name that begins with the reverse domain name of your organizationor publisher entity. For this project, you can use something like "com.example.myfirstapp." However, you cannot publish your app on Google Play using the "com.example" namespace.
  • Minimum Required SDK is the lowest version of Android that your app supports, indicated using the API level. To support as many devices as possible, you should set this to the lowest version available that allows your app to provide its core feature set. If any feature of your app is possible only on newer versions of Android and it's not critical to the app's core feature set, you can enable the feature only when running on the versions that support it (as discussed in Supporting Different Platform Versions). Leave this set to the default value for this project.
  • Target SDK indicates the highest version of Android (also using the API level) with which you have tested with your application.
  • As new versions of Android become available, you should test your app on the new version and update this value to match the latest API level in order to take advantage of new platform features.
  • Compile With is the platform version against which you will compile your app. By default, this is set to the latest version of Android available in your SDK. (It should be Android 4.1 or greater; if you don't have such a version available, you must install one using the SDK Manager). You can still build your app to support older versions, but setting the build target to the latest version allows you to enable new features and optimize your app for a great user experience on the latest devices.
  • Theme specifies the Android UI style to apply for your app. You can leave this alone.

3) Project Configuration.

Accept Default.
Click Next.
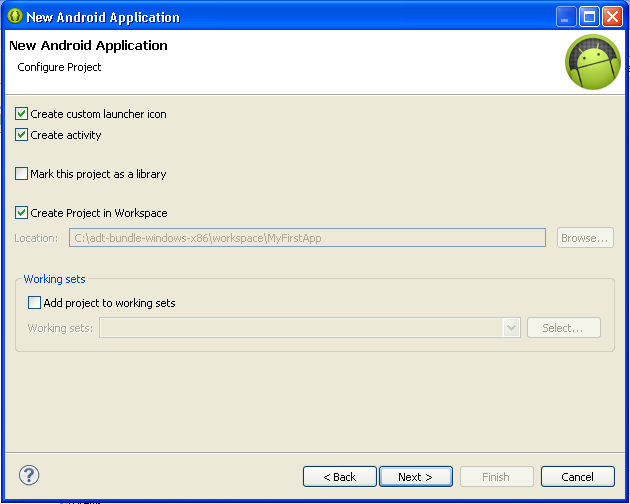
4) Configure Launcher Options.

Accept Default.
Click Next.
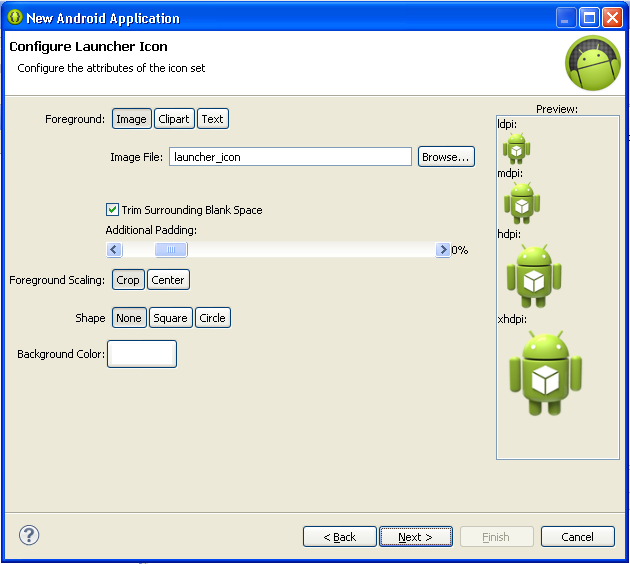
5) Create Activity Option.

Accept Default (Tick Create Activity)
Click Next.

When we choose Create Activity, ADT will perform two tasks:
1) Create a Java Class for the Activity
2) Update Android Manifest file.
AndroidManifest.xml is a powerful file in the Android platform that allows you to describe the functionality and requirements of your application to Android.

6) New Blank Activity options.

Accept Default.
Click Finish.

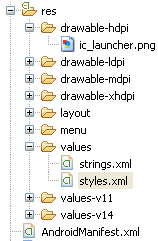
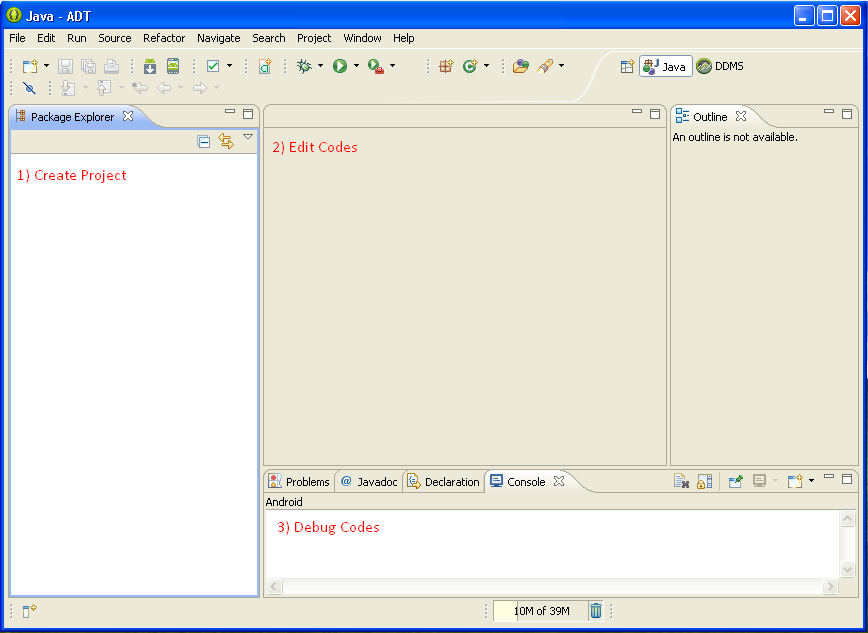
7) Observe Package Explorer Panel.

Check each of the files.
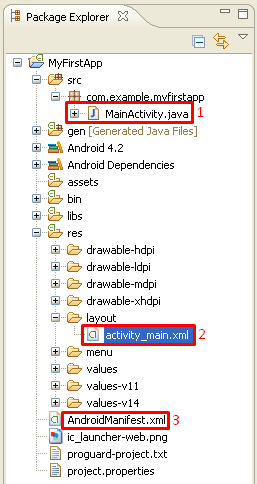
7.1) MainActivity.Java
A typical Java file consists of three segment of codes:
a) The package declaration (to identify the project codes)
b) The import declaration (to use the existing code libraries)
c) The class instructions (programmer instructions)

package com.example.myfirstapp;
import android.os.Bundle;
import android.app.Activity;
import android.view.Menu;
public class MainActivity extends Activity {
    @Override
    protected void onCreate(Bundle savedInstanceState) {
        super.onCreate(savedInstanceState);
        setContentView(R.layout.activity_main);
    }
    @Override
    public boolean onCreateOptionsMenu(Menu menu) {
        // Inflate the menu; this adds items to the action bar if it is present.
        getMenuInflater().inflate(R.menu.activity_main, menu);
        return true;
    }
   
}
Notice the statement setContentView(R.layout.activity_main);
It tells the apps to set its view based on the layout specified in the file activity_main (which is kept in the sub folder layout of the Resource folder).
7.2) activity_main.xml
(You may need to click the tab “activity_main.xml” in order to see the source codes)
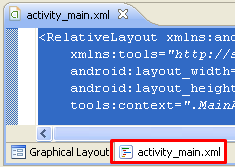
<RelativeLayout xmlns:android="http://schemas.android.com/apk/res/android"
    xmlns:tools="http://schemas.android.com/tools"
    android:layout_width="match_parent"
    android:layout_height="match_parent"
    tools:context=".MainActivity" >
    <TextView
        android:layout_width="wrap_content"
        android:layout_height="wrap_content"
        android:layout_centerHorizontal="true"
        android:layout_centerVertical="true"
        android:text="@string/hello_world" />
</RelativeLayout>
7.3) AndroidManifest.xml
(You may need to click the tab “AndroidManifest.xml” in order to see the source codes)

<?xml version="1.0" encoding="utf-8"?>
<manifest xmlns:android="http://schemas.android.com/apk/res/android"
    package="com.example.myfirstapp"
    android:versionCode="1"
    android:versionName="1.0" >
    <uses-sdk
        android:minSdkVersion="8"
        android:targetSdkVersion="17" />
    <application
        android:allowBackup="true"
        android:icon="@drawable/ic_launcher"
        android:label="@string/app_name"
        android:theme="@style/AppTheme" >
        <activity
            android:name="com.example.myfirstapp.MainActivity"
            android:label="@string/app_name" >
            <intent-filter>
                <action android:name="android.intent.action.MAIN" />
                <category android:name="android.intent.category.LAUNCHER" />
            </intent-filter>
        </activity>
    </application>
</manifest>
Notice that the AndroidManifest.xml actually contains the information that has been mostly entered in the project setup wizard above (Step 2 to Step 6).

Some keywords are preceded by the character @. These refer to the folder/files in which file/values are stored.
Find the location of the following files/values:
@drawable/ic_launcher
@string/app_name
@style/AppTheme
@string/app_name
---

102-Managing Android Virtual Devices


---
102-Managing Android Virtual Devices
-
1) Before you develop an Android app, you need to setup an Android Emulator for testing your Android Apps..
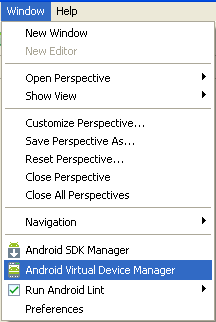
2) Click Menu Window/Android Virtual Device Manager.
2) Set the machine configuration.
2.1) Click "New..."
2.2) Enter the required details. Click OK.
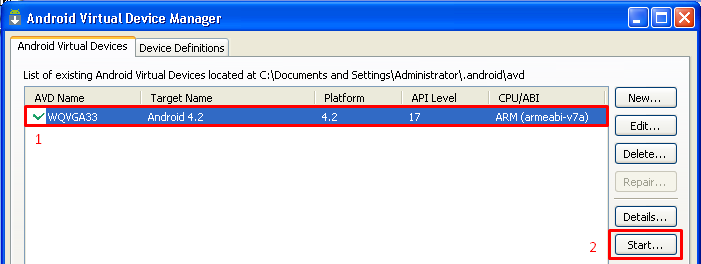
2.3) To test the machine, select the macine name and click Start… button.
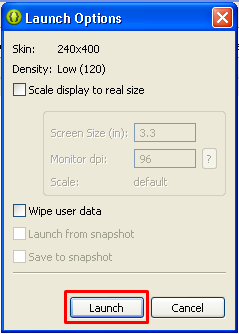
3) Set Launch options.
3.1) Accept the default and click Launch.
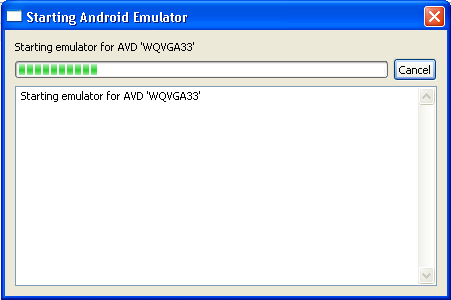
3.2) The Starting progress windows pops up.
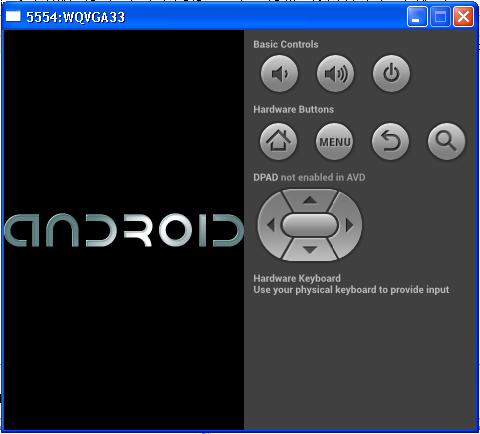
3.3) The Android emulator starts loading.
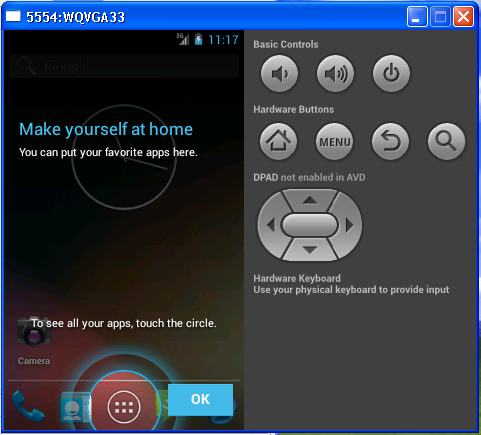
3.4) You have to wait for logon screen to appear. Use your mouse to tap on the padlock icon and drag it to the right to unlock the machine.
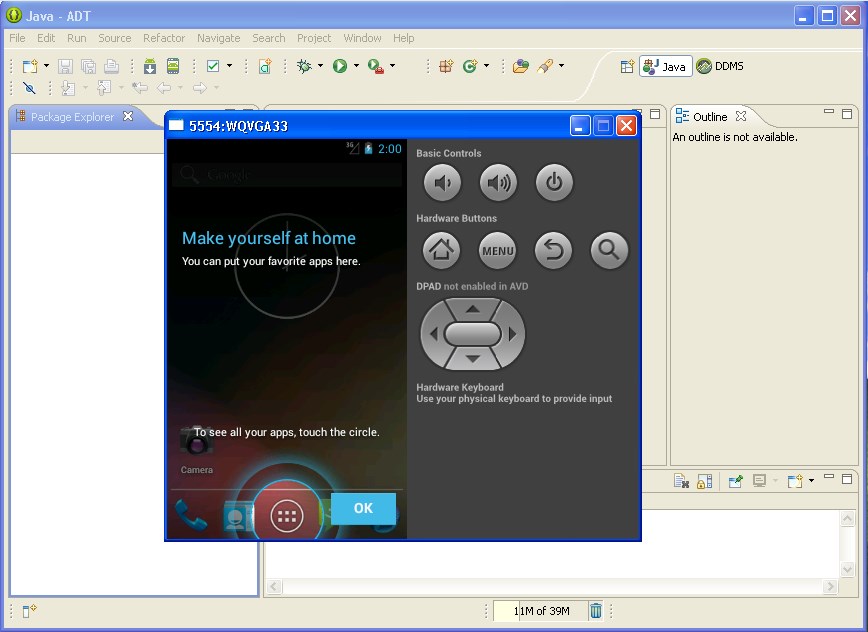
3.5) Look at the title of the window, 5554:WQVA33
5554 is the port number of the emulator that allows it to communicate with other software.
WQVA33 is the name given in Step (11).
4) You can leave this emulator window open while building the app.
adt-avd.jpg
-
---

101-Installing the Eclipse ADT Bundle


---
101-Installing the Eclipse ADT Bundle
-
1) This tutorial is based on:
2) The Integrated Development Software used for this tutorial (ADT) is downloadable from http://developer.android.com/sdk/index.html#download (32 bit edition).
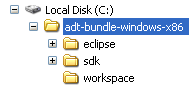
3) Download and extract the ADT software at the step (2). The top-level directory is as shown below:
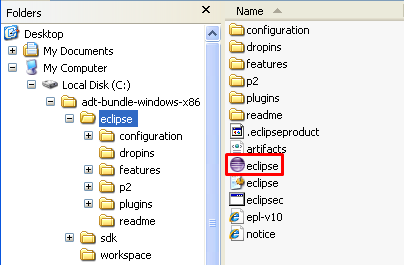
4) Go into eclipse directory and locate Eclipse executable file.
4.1) Double-click eclipse icon to run the program.
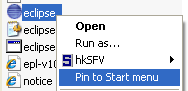
4.2) Right-click the icon and select “Pin to Start menu” to create a short-cut.
4.3) Next time, you can just click Windows START Menu and then click the short-cut to run the program.
5) When you run eclipse.exe, an ADT Splash Screen pops up.
6) Select a workspace
6.1) Set your workspace folder.
6.2) Tick “Use this as the default and do not ask again”
7) Click Menu/Help/About ADT.
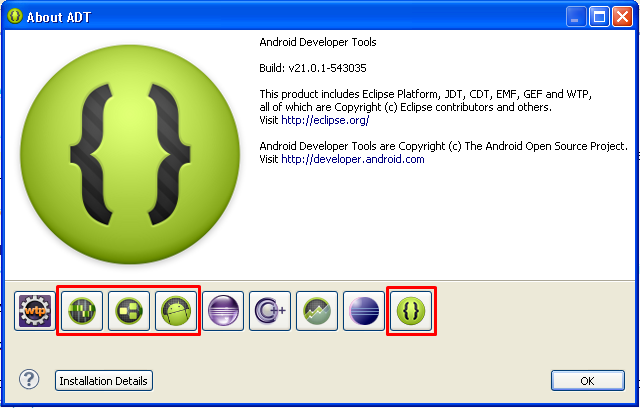
8) The About ADT window pops up.
A number of installed components are shown as icons. The green icons are those related to Android Development kit.
Click OK.

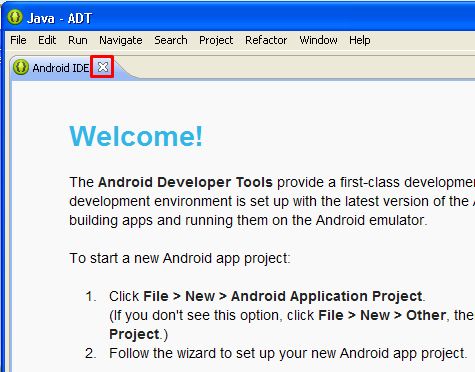
If you run ADT for the first time, you may see the Welcome Screen.
Close the screen by clicking the close button.
-
---